Free Web Button Collection
TGIF! Time for some free stuff! Check out this collection of free web buttons, provided by Sketchdock.com. You can download the collection in .PSD format for easy editing in Adobe Photoshop. Enjoy! Download the...How To Remove The Background Of An Image Using Photoshop
Have you ever wondered how some websites are able to integrate images so seamlessly with the background of the page that they just blend in? Most of those websites accomplish this by removing the original background of the image and either making it transparent...Tips for Creating an Attractive and User-friendly Website
Do you have difficulty getting visitors to come to your website? The first thought that may go through your mind is that you’re not marketing enough, but you may be overlooking a common problem. Most people who do a search on Google.com don’t spend very much...Freelance Designer: How To Find Real Jobs
So you made the jump from a safe, warm, and cozy job to the freedom of freelancing. You’ve dreamt about it for so long, wondering how the sun feels during the day while you were locked away behind a fluorescent lit cubicle isles and rows from the nearest window....-
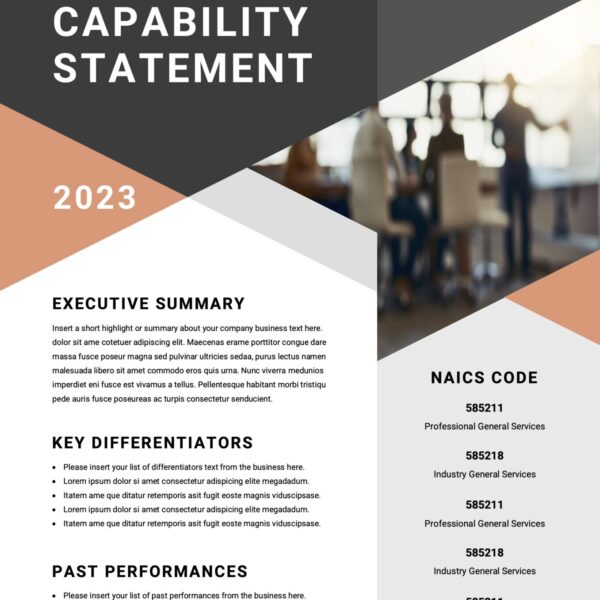 CAPABILITY STATEMENT$150.00
![]()
Sign up now, and create a free account with MailChimp and start sending better emails with tracking, social media, preset and customized templates.