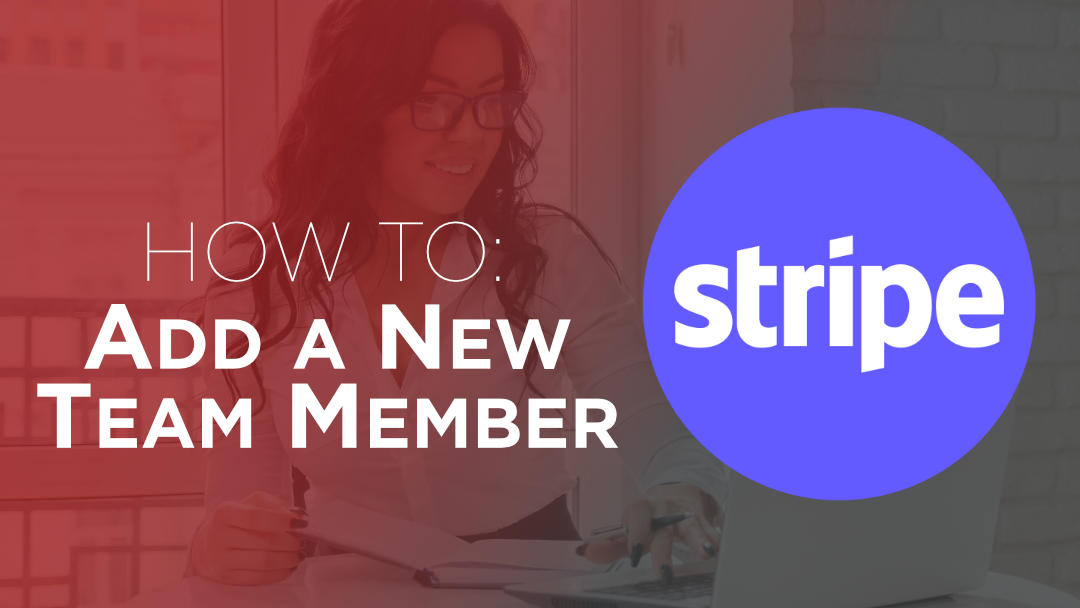
Adding a Team Member to Your Stripe Account
Inviting a Team Member to your Stripe account is in the following steps: Once you login to your Stripe Dashboard, you’ll see a Settings cogwheel on the top right of your screen. Click that to then see a full list of Personal Settings, and from there click on...
Micro-Learning for Small Businesses: Annual Guide 2025
Micro-learning for small businesses is transforming how companies educate customers and train teams. In a world where attention spans are shrinking and competition for engagement is at an all-time high, the way we teach, train, and share knowledge has to evolve....
Did You Know You Can Schedule Pages and Posts to Publish in WordPress?
Time is a precious resource for every business professional. What if your website could manage content publishing for you while you focus on running your business? With WordPress, scheduling posts and pages is a powerful feature you can easily leverage to streamline...
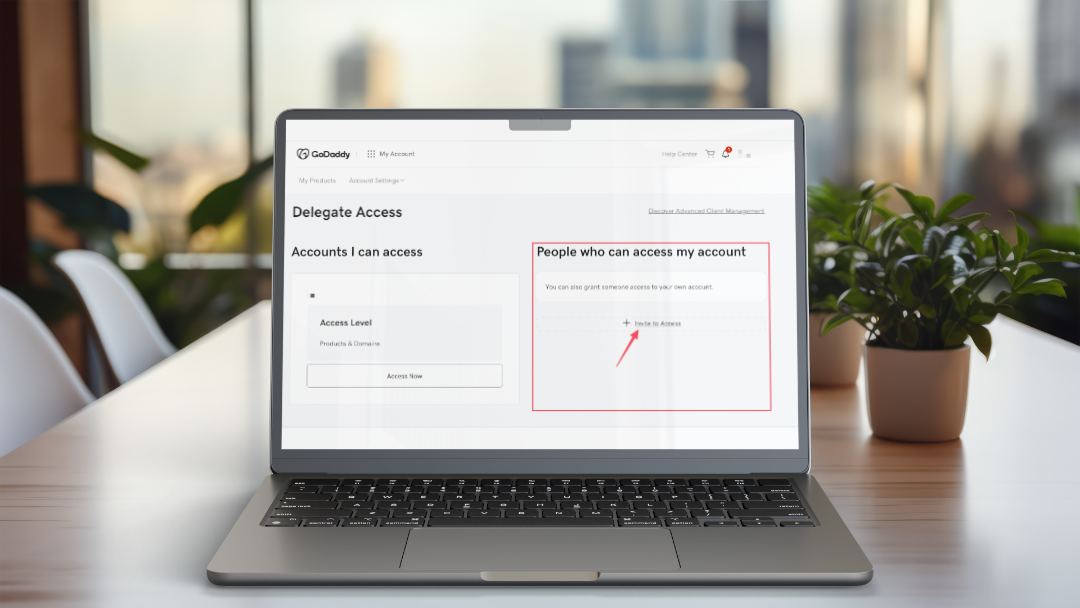
Providing User Access to Your MailChimp Account
There’s another option for giving access to your MailChimp account without needing to provide your account username and password. In our agency we prefer the following approach because we’re able to gain access to our client accounts at different levels,...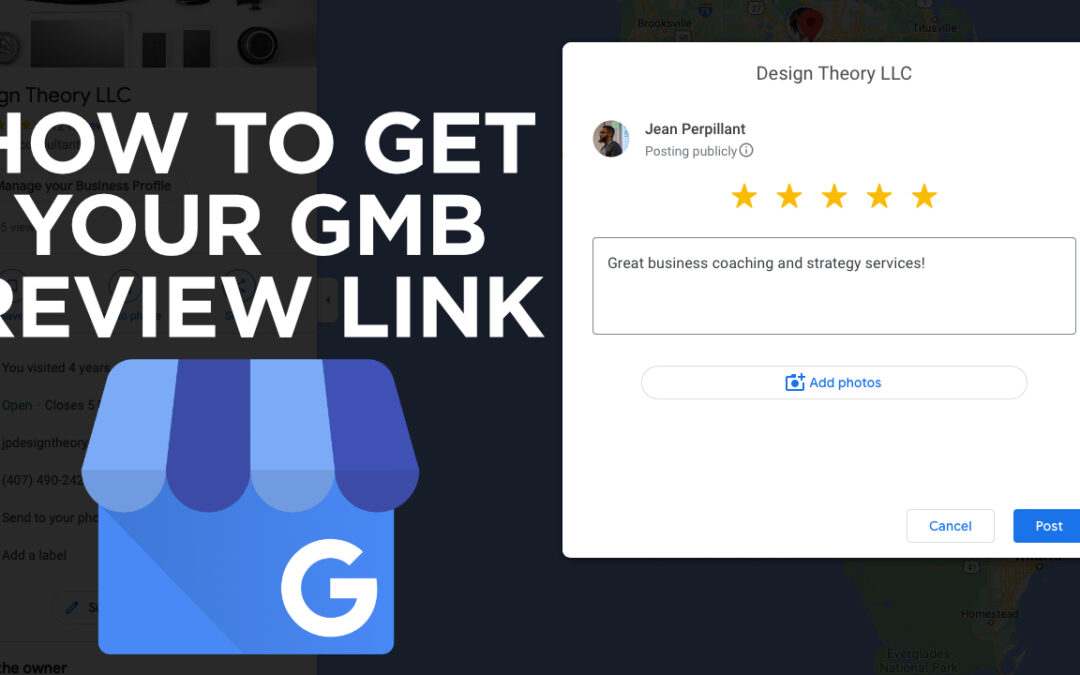
How To Get Your Google My Business Page Review Link
Having your customers and clients leave you positive reviews is a fantastic way to organically grow your business profile on Google. Getting them to engage and leave you a review sometimes may be include a bunch of steps and this short video will show you how to make...-
 CAPABILITY STATEMENT$150.00
![]()
Sign up now, and create a free account with MailChimp and start sending better emails with tracking, social media, preset and customized templates.