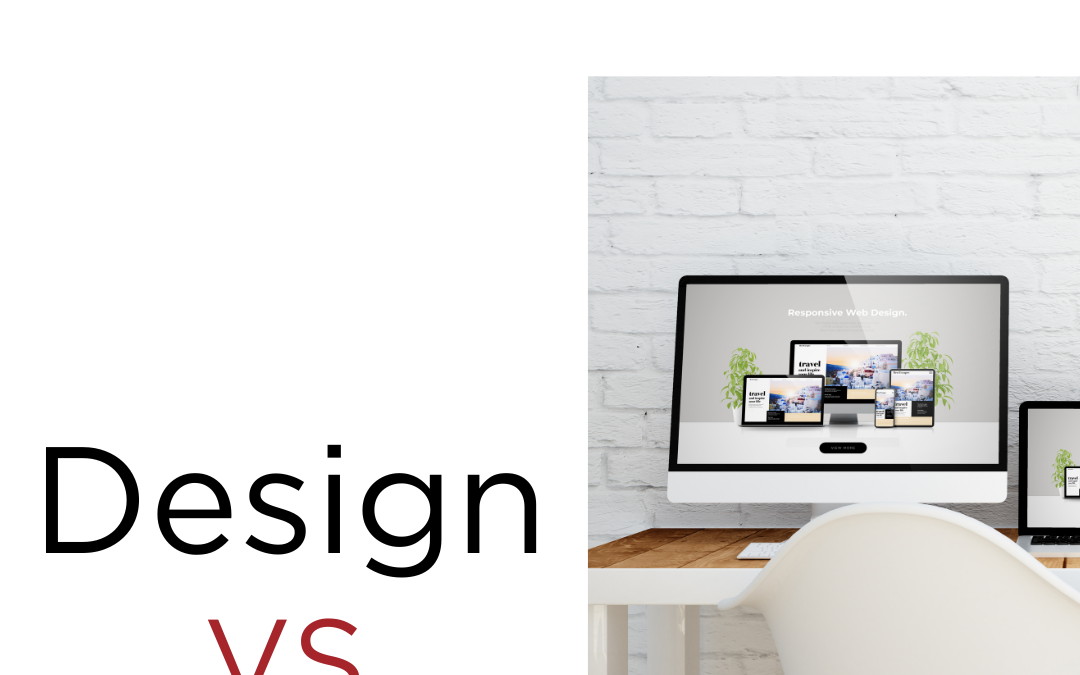
Top 5 Reasons Your Hair Salon Needs a Website
Maybe you’ve had a successful hair salon for years and your flow of clients is in and out like a Manhattan revolving door. Or perhaps, you just started one and are struggling to pack the chairs and fill the appointment book. Regardless, both need a website. It would...Image Optimization And Why It’s Important
Have you ever been to a website that loaded very slowly? Did that website have some images that loaded abnormally slow, even though they weren’t that large in size? The reason for that may be that the images were re-sized improperly, most likely with a WYSIWYG...They Trust Me, They Trust Me Not? A Client Relationship & Retention Discussion
Trust is one of the hardest things to give to another person in our personal lives let alone in business. However when we do decide to give it, it’s because the person has portrayed themselves in an unquestionably, trustworthy manner or have at least projected some...FAQ or Fiction
Is it really necessary for a small company to have website? Can I really make SEO work for me? Can blogging really benefit my company? Is this all just a waste of time and is any of this profitable? In a very Dr. Phil-ish candidness, you bet your butt...-
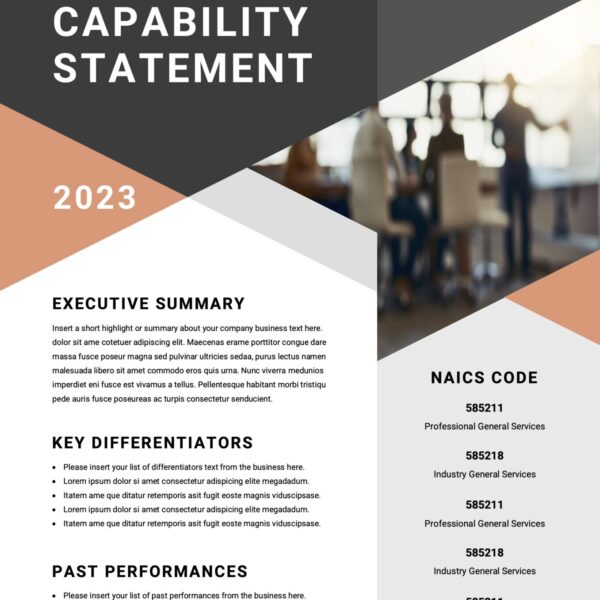 CAPABILITY STATEMENT$150.00
![]()
Sign up now, and create a free account with MailChimp and start sending better emails with tracking, social media, preset and customized templates.